22 Painting Secrets the Pros Won’t Tell You
Each painter has a different method and preference, but all pros know their trade secrets.
Just Sand Away Flaws
If you want a perfect painted wall or woodwork, you have to start with the proper surface. One professional told us that the better title would be Sander rather than Painter since he spends so much time pushing sandpaper.Sanding flattens ridges around nail holes and removes burrs or rough spots in your trim. Sanding also removes spackle or joint compound patches.
Sand the interior walls from the baseboard to the ceiling with fine-grit sandpaper on a sanding pole. Then sand both the ceiling and baseboard horizontally. Do not use too much pressure on the sanding pole or the head can flip over and damage the wall. Use a sanding sponge to sand woodwork and make sure to get in the crevices.
Get the Best Supplies
Don’t skimp on paint and brushes. Cheap brushes are a waste of money. Invest in a Wooster or something solid. That $3 plastic brush makes it look like you smeared paint on the wall with a mop. And then the bristles fall out. I like an angled brush of 2-½ inches. You can use it again and again until the bristles wear down to a nub.Also, get the most expensive paint. Why is this important? Because it will go on smoothly and will provide the best coverage. It’ll last forever. Your whole job will be faster and easier, since you can effortlessly cleanse a smudge from the wall without removing the paint.
Cover the furniture.
If you cannot move the furniture out of a room, move it all to the center of the room and cover and wrap it with plastic sheets taped at the bottom. Not only will this protect your furniture from paint drips and splatters, it will also protect it from sanding dust.
Use Tinted Primer
Before a pro paints a wall, they fill holes and fix cracks with joint compound. However, don’t paint right over it, the compound will pull all the moisture from the paint, and give it a dull look (a problem called “flashing”). The spots will look noticeably different from the rest of the wall. To avoid this, professionals prime the walls before painting.
Instead of white primer, pros tend to tint it gray or a color similar to the finish paint.Tinted primer covers existing paint better than plain primer, so your finish coat will look brighter and require fewer coats. This is especially true for vibrant colors like red or orange, which may need three or more coats of paint.
Press Down Tape Using a Putty Knife
Nothing is more discouraging than taking off the tape from a freshly painted wall to discover paint seeped through. To avoid having to scrape off the paint, adhere the tape well before you begin. According to an expert with more than 8 years of experience, “apply tape over the wood, then use a putty knife to press down the tape to seal it well.”
Instead of masking tape, use the blue painter’s tape. Masking tape can leave behind a sticky residue that can be difficult to remove. Paint can also cause tape to buckle or become wavy, which allows paint to get underneath it. Painter’s tape stays on for days (some even for two weeks) and still peels away cleanly. It also prevents paint bleed without buckling.
Eliminate brush marks with Paint Extender
Mix a paint extender (also called a paint conditioner), such as Floetrol, into the paint to avoid lap and brush marks. This does a couple things. Firstly, it slows down paint drying time, giving you more time to overlap freshly painted areas without getting lap marks that appear when you paint over dried paint and darken it. Second, paint extenders minimize brushstrokes so they’re less noticeable. When painting drywall, woodwork, cabinets, and doors, pros use extenders. Manufacturers’ instructions tell how much extender to add per gallon of paint.
Scrape a Ridge on Textured Ceilings
The problem with painting along the edge of textured ceilings is that it’s nearly impossible to get a straight line along the ceiling’s top without getting paint on the ceiling bumps. Pros have an easy solution. They use a screwdriver to scrape off the texture from the ceiling. One of our pros says that this lets you cut in without getting paint on the ceiling texture.
Make Use of Canvas Drop Cloths
Bedsheets are not used as drop cloths by professionals, so neither should you. Thin sheets won’t stop spills and splatters from staining your floors. And while plastic can contain spills, paint stays wet much longer. Wet paint can find its way into your shoes and get tracked throughout the house.
Use what professionals do—canvas drop cloths. They’re not slippery and they absorb spills (but don’t let them get too wet or spills will bleed through).
Finish one wall before moving on to the next
It may seem easy to do the trim and corners in a room, then go back to roll the walls, but don’t do that. Pros get a seamless look by cutting in one wall, and then immediately rolling it up before starting the next. This helps the brushed and rolled paint blend better.
When switching between brushing and rolling, cover your paint bucket or tray with a damp towel to prevent your tools from drying out when they are not in use.
Scrape Windows, Don’t Tape
Taping isn’t that necessary when your painting sashes—it can take a long time and the paint usually ends up on the glass anyway. Let the paint drip on the glass. Once it is dry, use a razor blade to scrape it off. The paint comes off in seconds. Try to avoid scraping the paint bond between wood and glass, advises a pro, or the wood could get wet and rot over time.
Box Paint for Uniform Color
The color of the same paint may vary from can to can. If you open a new gallon halfway through a wall, the difference can be glaringly apparent. To ensure consistency of color, professional painters mix their paint cans in a five-gallon bucket, a process called “boxing.”
Some professionals will paint right out of the bucket. This eliminates the need for paint to be poured into a roller tray, though the heavy bucket is more difficult to move.
Buy A Couple Extra Buckets
That’s because unless you’re exceptionally motivated, you won’t have freshly shaken paint for the duration of your project. And a stir stick will not bring settled paint back to life. No, you need to scrape and mix the paint at the bottom by pouring the paint between two buckets. It’s the only, and really the only, way to ensure that your paint is mixed. Also, if you have several different cans of paint, you want to combine them so everything is uniform.
Wash Rollers
No matter whether you buy cheap roller covers or expensive ones, washing them beforehand gets rid of the fuzz that inevitably comes off when you start painting. Wash them with water and soap, and then pull any loose fibers off with your hands. Roller covers do not need to dry before use.
Remove the switchplates.
This is obvious. Rather than tediously taping or cutting around your switch plates, grab your screwdriver and remove them. Then your plate will be perfectly covered without a mess.
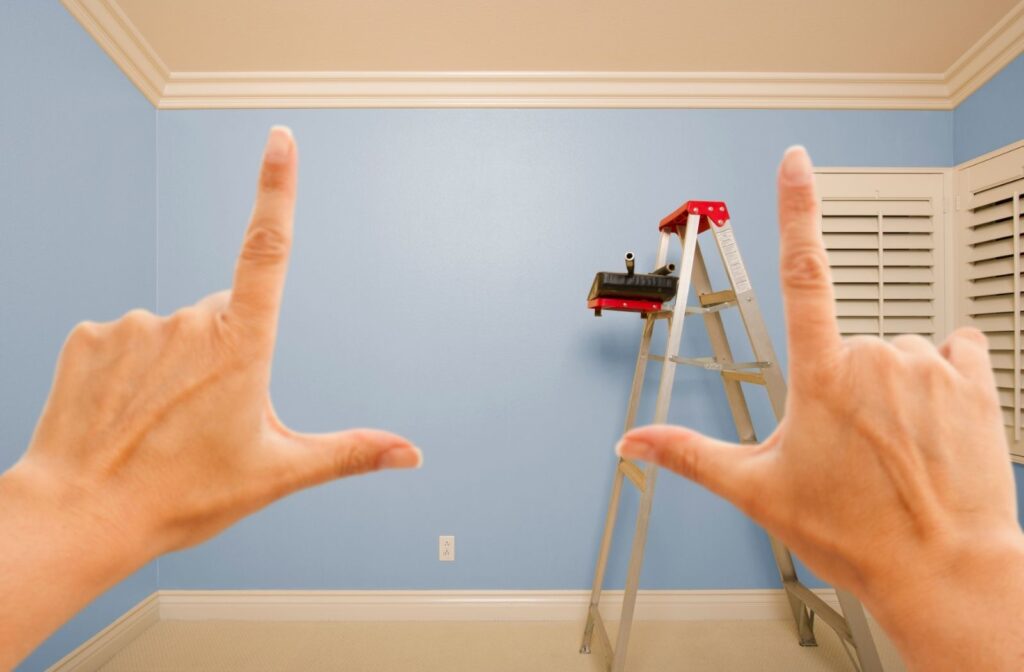
Give Yourself a Good Set
In painter speak, a bad set is when you’re physically uncomfortable while doing something, maybe your ladder is too short, or you’re in a weird spot with your brush. The good news is that a lot of bad sets can be avoided. Just climb down the ladder and move it. Yeah, it’s a pain. But not as annoying as dropping your paint bucket because you were hanging off your ladder. And sometimes bad sets can be fixed by moving an obstacle. Fridge giving you a hard angle at a wall? Move it.
Light It Up
Here’s another painter’s term: holiday. That happens when you miss a spot without realizing it. It’s easy to do, especially if the colors are similar. Get yourself a work light and check your work as you go. The most likely places for this to occur are around the edges, where you use a brush instead of a roller. Holidays are easy to fix while working, but even worse after you’ve put everything away.
Clean Grimy Walls With Degreaser
Greasy or grubby surfaces, like above stoves or in mudrooms where children shake off muddy boots and scratch the walls, don’t like to stick to paint. It also won’t bond to light switches because they are touched with dirty hands. Use a degreaser for cleaning grimy or greasy surfaces. It cuts through almost anything you have on your walls so better paint adheres.
Read the label and follow the instructions carefully—this stuff is potent. Wear rubber gloves and eye protection.
Load Your Brush First.
Professionals take a “load and go” approach to painting. They load their brushes with paint, tap each side of their container against the inside to get the drips off, and then begin painting. By contrast, homeowners often drag the loaded brush around the container and wipe off most of the paint by dragging the loaded brush along the sides.
Push Paint to Prevent Runs
When you have too much paint on your brush, it is easy to create runs by applying too much paint along corners or trim. To avoid that, brush about ½ inch away from the cut-in area when applying paint. Once the brush unloads, slowly move it along the trim or corner. Push the paint gently against the cut-in area where the walls meet.
You may need to repeat this several times to achieve complete coverage, but you’ll avoid any excess paint along woodwork and in corners.
Wrap It Up
When you’re finished for the day, soak your roller in paint and place it in a plastic bag to keep it airtight. If you’re going back to work the following day, that should work. If it’s going to be some time, you can still use the bag to cover the roller, and then pull off the roller without smearing yourself with paint. Next time, you could use a new roller. If you are using latex paint, which is water-based, you can wash out your expensive brush. Wash the brush in an out-of-the-way spot while alternately rapping it against the bottom of your shoes to shake out the bristles. Make sure it’s clean and you’re ready to tackle another room the next time you’re feeling brave.
Wait for a dry day.
Humidity makes paint drip and dry slowly, so avoid painting on a rainy day. If you must paint in humid weather, take your time — and take advantage of slower drying paint to fix mistakes before applying the next coat.
Start with the top and work down.
After cutting in edges with a brush, roll the paint from the ceiling downward using your roller. Paint professionals usually paint right over their mistakes after a paint job, but amateurs often have noticeable drips and spatters at the end. Once the area starts to dry, it is best to leave it alone. Marks and color streaks can be left on the paint’s surface when going back over it.
We hope your enjoyed these 22 Secrets the Pros won’t tell you, for more information visit New Orleans House Painters.